
Ready to dive into the world of photography but feeling a bit overwhelmed? No worries, we’ve got your back to make capturing those unforgettable moments as enjoyable as the snapshots themselves.
With our lens-focused journey over the past few years, snapping shots in places like Costa Rica, Tanzania, Vietnam, and various European countries, we’ve picked up some photography tips we think might help you out. So, grab your camera and let’s frame up the fundamentals of stress-free photography for beginners!
Choosing Your Gear
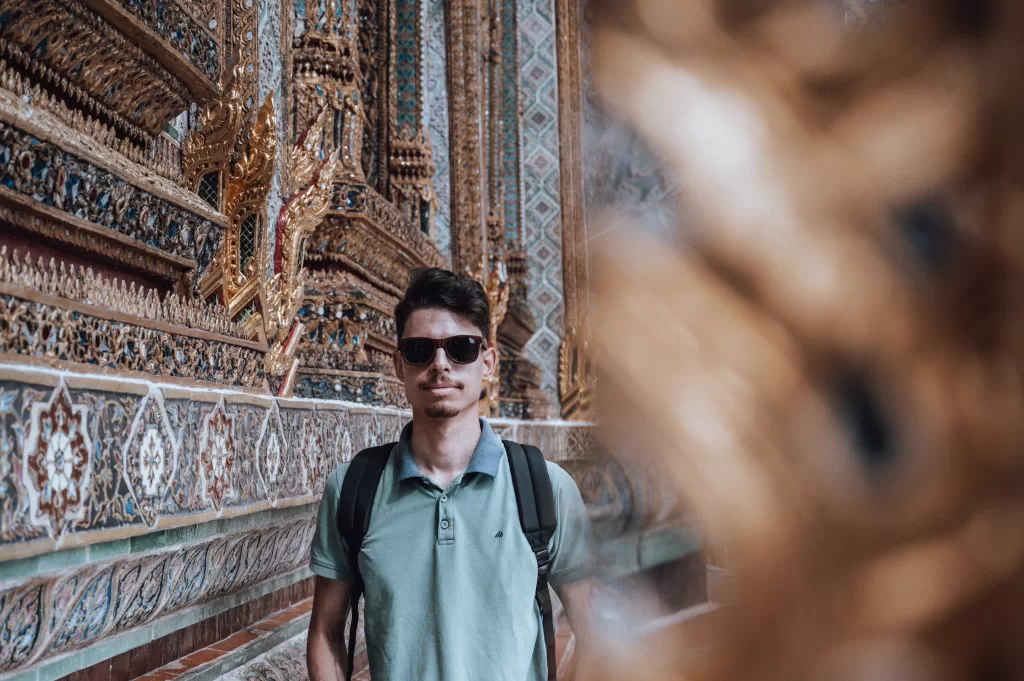
Your photography adventure starts with the right gear. If you’re just starting, don’t feel pressured to invest in the fanciest equipment. Begin with a reliable camera that fits your budget and learn its ins and outs. A good smartphone with a decent camera can also do wonders to kickstart your photographic journey. For example, the photo on the right was taken with a Samsung Galaxy S23 Ultra.
Investing in a camera is an exciting step on your photography journey, but with the myriad of options available, it can be a bit overwhelming. Here are a few things to consider:
- Purpose and Usage: what is the purpose of buying the camera and what are you expecting to shoot with it (landscapes, wildlife, portraits, etc.)
- Type of camera
- DLSR
- Mirrorless: Compact and lighter, offering similar performance to DSLRs. Known for their quick autofocus and video capabilities.
- Sensor Size: Larger sensors generally capture more light, resulting in better image quality. Consider a full-frame sensor.
- Autofocus System: Look for a camera with a reliable and fast autofocus system, especially if you plan to shoot moving subjects.
- Lenses compatibility: Check the availability and variety of lenses compatible with the camera model.
- ISO range: A broader ISO range provides flexibility in various lighting conditions. Consider cameras with good low-light performance.
- Image Stabilization: Reduces camera shake, especially beneficial in low-light situations or when using larger lenses.
- Budget: Determine a realistic budget, factoring in the camera body, lenses, accessories, and potentially, photography software.
Ready to gear up for your photography adventure without breaking the bank? Consider buying your new equipment in second hand stores. You can find great deals and it’s a more sustainable option. And of course we practice what we preach! Our current equipment including our lenses were bought in a second hand store. However, before buying, be sure you test the equipment and ask what type of use the equipment had before.
Understanding Basic Settings
Now that you’ve got your gear, familiarize yourself with the basic settings. Learn about aperture, shutter speed, and ISO to grasp the foundations of exposure. Don’t worry; it’s not as complicated as it sounds! Experimenting with these settings will help you capture different moods and styles in your photos.
Aperture:
- What it is: Aperture is like the pupil of your camera’s eye. It’s the opening in the lens through which light passes.
- How it works: Aperture is measured in f-stops. A lower f-stop means a wider opening, letting in more light, and creating a shallower depth of field. A higher f-stop results in a smaller opening, less light, and a deeper focus.
- Example: Want a blurry background with a sharp foreground in a portrait? Use a low f-stop.
Shutter Speed:
- What it is: Shutter speed is how long your camera’s shutter stays open, determining the duration of light exposure.
- How it works: Measured in seconds or fractions of a second. A faster shutterspeed (like 1/1000) captures quick action with less light, while a slower speed (like 1/30) lets in more light but might result in motion blur.
- Example: Photographing something in motion? Opt for a quicker shutter speed, such as 1/500.
Tip: especially when handholding your camera, aim for a shutter speed matching or surpassing your lens focal length. For instance, for a crisp, blur-free shot with a 100mm lens, set your shutter speed at 1/100 sec or faster.
ISO:
- What it is: ISO is how sensitive your camera is to light.
- How it works: Low ISO (like 100) is for sunny days. High ISO (like 1600) is for darker places.
- Example: Inside or at sunset, increase ISO to let in more light. Note that increasing your ISO means you are increasing noise as well.
Tip: Don’t be afraid to increase your ISO when needed. It is better to have a photo with a bit of noise which can be fixed while editing than an unsharp photo, which there isn’t much you can do to fix.
Keep in mind that these settings go hand in hand, so tweaking one may mean adjusting the others to keep a well-balanced exposure. Finding the right combination is key to achieving your desired effect! To simplify, you can use pre-defined camera programs. We often opt for this, especially when shooting wildlife, as it can be challenging to constantly change camera settings. Our go-to is Aperture Priority, where we select the aperture, and the camera takes care of the rest. Depending on the photo we’re after, we might adjust other settings in certain scenarios.

Composition
Ever wondered what makes a photo visually appealing? It’s all about composition. Embrace the rule of thirds – imagine breaking an image into nine equal parts and positioning your subject at the intersection points. Experiment with angles and framing to add depth and interest to your shots.
In essence, composition is the artistic arrangement of elements within your frame. So, don’t hesitate to explore and find your unique style that resonates with the story you want to tell through your photographs.


Lighting
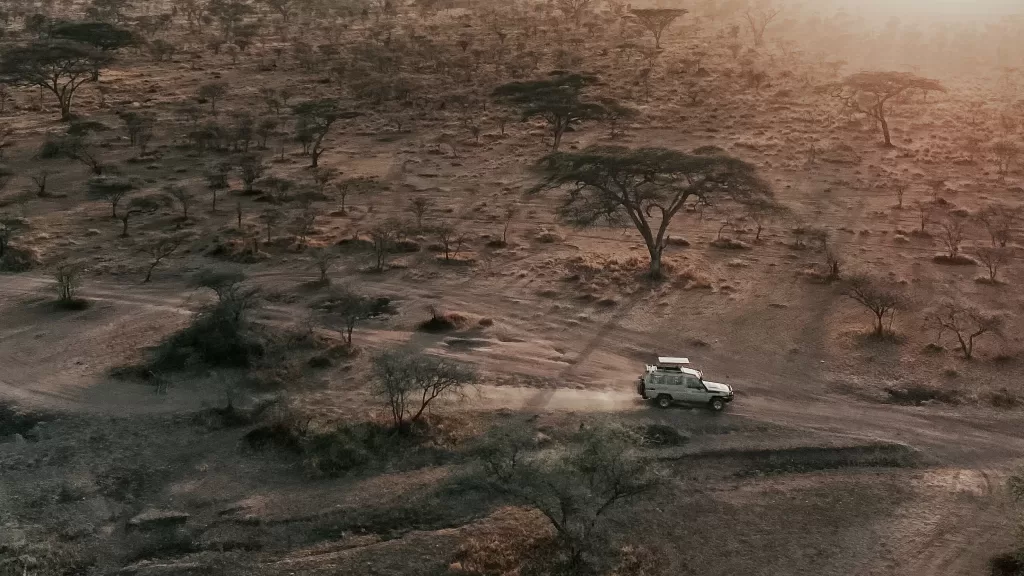
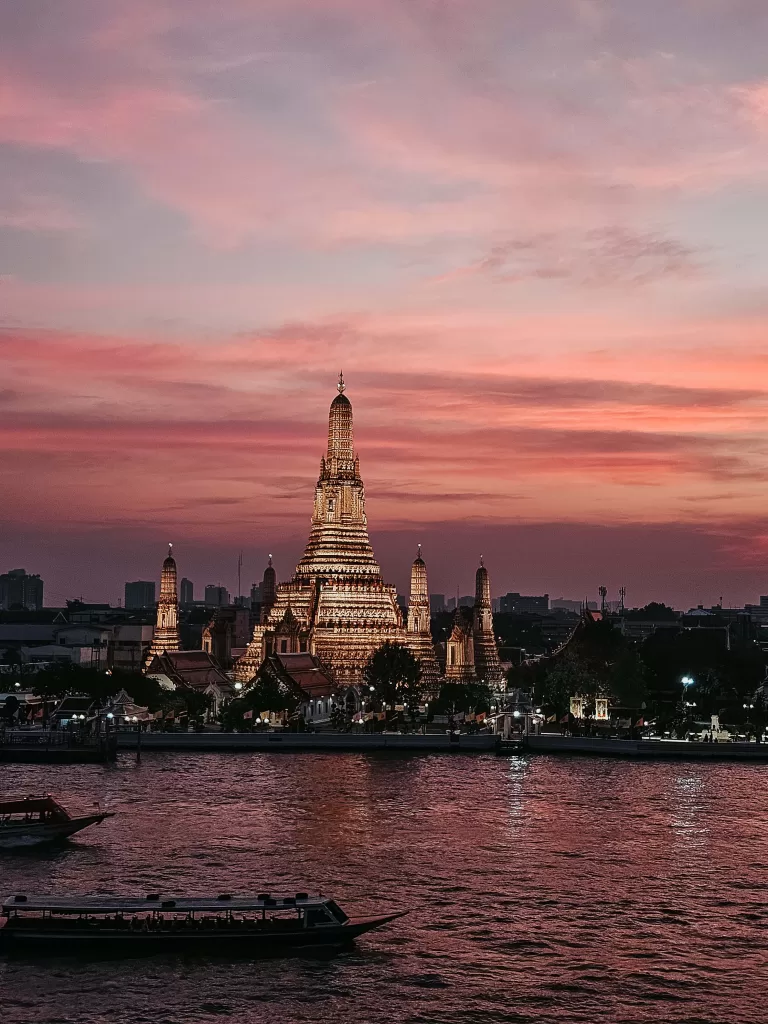
Lighting can make or break a photo. Experiment with natural light to understand how it interacts with your subject. Morning and evening light, often called the golden hour, can add warmth and dimension to your photos. When possible, avoid harsh midday sun, as it can create strong shadows.
Patience, Patience, Patience
The secret ingredient to great photography? Patience. Take your time to frame your shots, wait for the right moment, and don’t be afraid to experiment. Some of the most captivating photos come from unexpected angles or spontaneous situations.
Editing
Once you’ve captured your masterpieces, explore basic editing tools to enhance your photos. There are plenty of user-friendly apps that allow you to adjust brightness, contrast, and colors. Don’t go overboard, though – sometimes, less is more.
We rely on Lightroom to edit our photos. It’s straightforward, user-friendly, and a great tool if you’re working with RAW files (which we strongly recommend!).
Experiment with different styles and see what fits your taste. For us, personally, editing is an art and it can elevate your photos and help you vonvey your message!
Seek Inspiration
Photography is an art, and like any art form, it thrives on inspiration. Follow photographers you admire, explore photography books, and immerse yourself in the visual wonders of the online photography community. This not only fuels your creativity but also introduces you to diverse styles and techniques.
Practice, Practice, Practice
Like any skill, photography improves with practice. Take your camera everywhere – you never know when the perfect shot will present itself. Experiment with different subjects, styles, and settings. The more you shoot, the more confident and creative you’ll become.
So, there you have it – your beginner’s guide to dipping your toes into the captivating world of photography. Remember, there are no strict rules, only endless possibilities waiting to be captured through your lens.
Happy shooting!